スクロールに合わせて「今どこを読んでいるか」がわかるUIは、記事ページやLP、ステップ解説でよく使われます。
今回は、縦に並んだセクションに対して、タイムラインの進行が伸びていく Scroll Timeline UI を作ります。
見た目はシンプルですが、現在地の把握 と 読み進めやすさ を両立しやすいのが特徴です。
この記事では、HTML / CSS / JavaScriptだけで動く形で、初心者向けにわかりやすく実装していきます。
1.Scroll Timeline UIとは?
Scroll Timeline UIは、スクロール位置に応じてタイムラインが進行するUIです。
たとえば次のような場面で使えます。
・ステップ解説ページ
・ロードマップ表示
・縦長の紹介ページ
・読み進める順番を見せたい記事
単なる装飾ではなく、「今どのセクションを見ているか」が直感的にわかるのが大きなメリットです。
スクロール連動UIの基本を知りたい場合は、先に Scroll Progress や Scroll Spy UI を見ておくと理解しやすくなります。
2.今回作るUIの完成イメージ
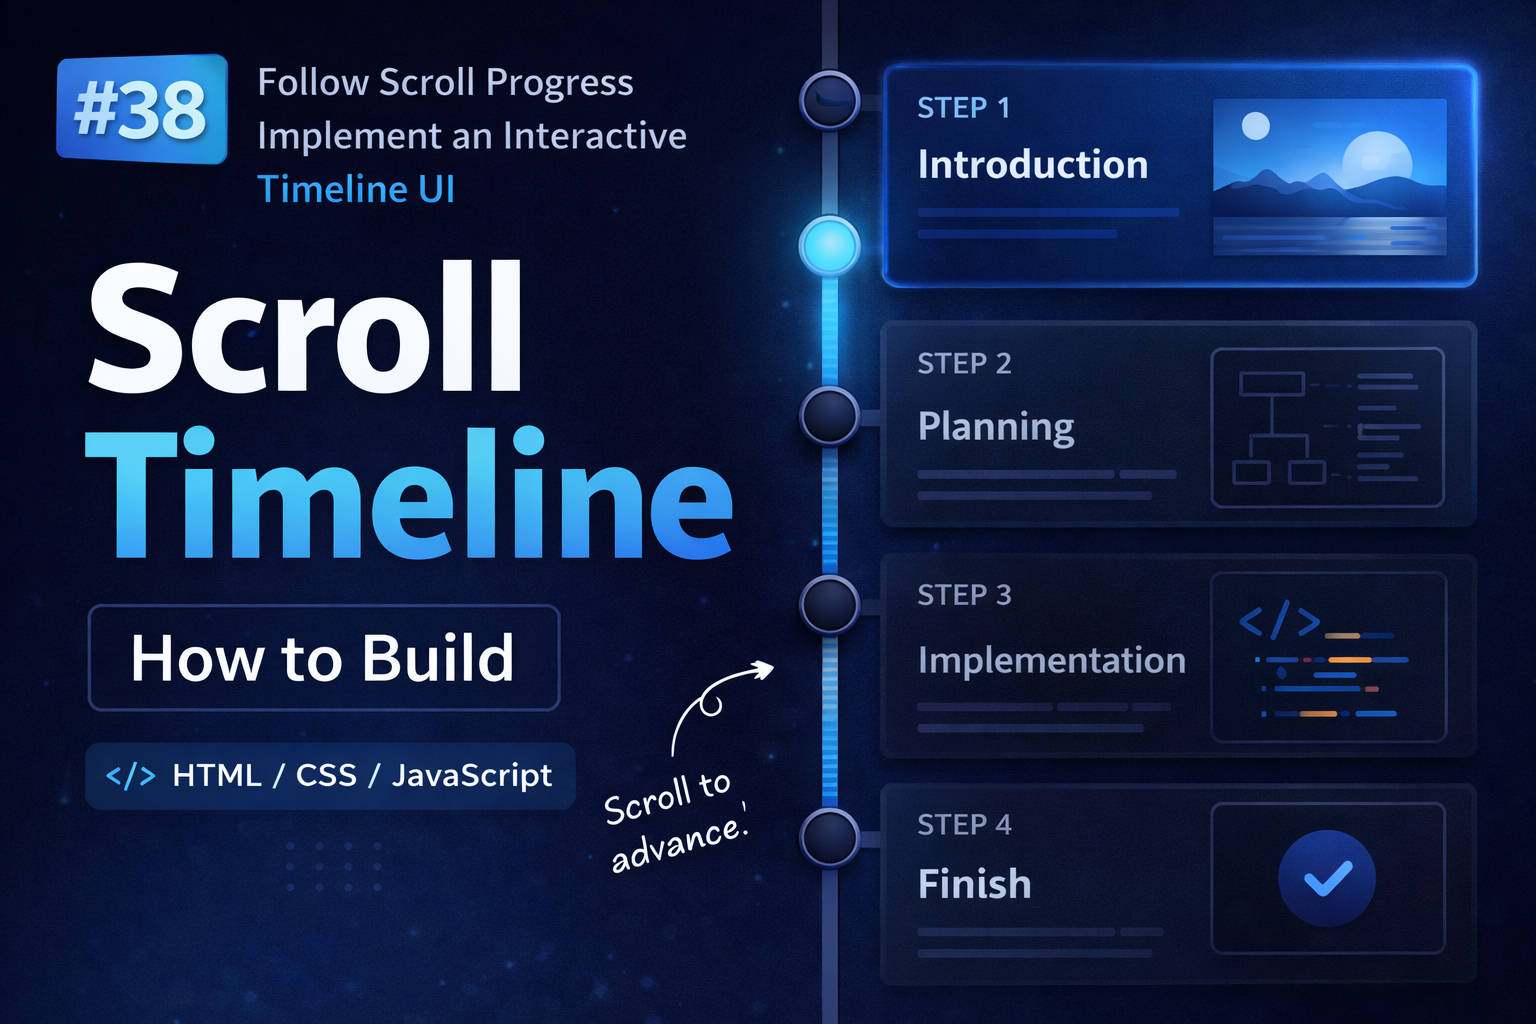
今回のUIでは、左側にタイムライン、右側に各セクションの内容を並べます。
・スクロールに応じて進捗ラインが伸びる
・現在のセクションだけ丸ポイントが強調される
・対応するカードもアクティブ表示になる
つまり、Scroll Progress と Scroll Spy を組み合わせた構成です。
HTML
まずは全体の構造です。タイムライン本体と、各ステップを並べたコンテンツを用意します。
<div class="timeline-layout">
  <aside class="timeline">
    <div class="timeline-track">
      <div class="timeline-fill" id="timelineFill"></div>
    </div>

    <div class="timeline-points">
      <button class="timeline-point active" data-target="step1"></button>
      <button class="timeline-point" data-target="step2"></button>
      <button class="timeline-point" data-target="step3"></button>
      <button class="timeline-point" data-target="step4"></button>
    </div>
  </aside>

  <main class="timeline-content">
    <section class="timeline-section active" id="step1">
      <span class="timeline-label">STEP 1</span>
      <h2>導入</h2>
      <p>ここに説明文を入れます。</p>
    </section>

    <section class="timeline-section" id="step2">
      <span class="timeline-label">STEP 2</span>
      <h2>設計</h2>
      <p>ここに説明文を入れます。</p>
    </section>

    <section class="timeline-section" id="step3">
      <span class="timeline-label">STEP 3</span>
      <h2>実装</h2>
      <p>ここに説明文を入れます。</p>
    </section>

    <section class="timeline-section" id="step4">
      <span class="timeline-label">STEP 4</span>
      <h2>仕上げ</h2>
      <p>ここに説明文を入れます。</p>
    </section>
  </main>
</div>
CSS
タイムラインを左に固定し、セクションを縦に並べます。
body {
  margin: 0;
  font-family: sans-serif;
  background: #0f1115;
  color: #e8edf2;
}

.timeline-layout {
  width: min(960px, calc(100% - 32px));
  margin: 0 auto;
  padding: 48px 0;
  display: grid;
  grid-template-columns: 80px 1fr;
  gap: 24px;
}

.timeline {
  position: sticky;
  top: 24px;
  height: calc(100vh - 48px);
}

.timeline-track {
  position: absolute;
  top: 40px;
  bottom: 40px;
  width: 4px;
  background: rgba(255,255,255,0.1);
}

.timeline-fill {
  width: 100%;
  height: 0%;
  background: #7dd3fc;
  transition: height 0.2s;
}

.timeline-point {
  position: absolute;
  left: 50%;
  transform: translateX(-50%);
  width: 16px;
  height: 16px;
  border-radius: 50%;
  background: #444;
}

.timeline-point.active {
  background: #7dd3fc;
}

.timeline-content {
  display: grid;
  gap: 60px;
}

.timeline-section {
  min-height: 70vh;
  padding: 32px;
  opacity: 0.4;
}

.timeline-section.active {
  opacity: 1;
}stickyの挙動がわからない場合は、Sticky Scroll Animationの記事も参考になります。
JavaScript
スクロール位置に応じてアクティブ状態と進捗を更新します。
const sections = document.querySelectorAll('.timeline-section');
const points = document.querySelectorAll('.timeline-point');
const fill = document.getElementById('timelineFill');

function update() {
  let activeIndex = 0;

  sections.forEach((section, i) => {
    const rect = section.getBoundingClientRect();

    if (rect.top < window.innerHeight * 0.4) {
      activeIndex = i;
    }

    section.classList.toggle('active', i === activeIndex);
    points[i].classList.toggle('active', i === activeIndex);
  });

  const progress = activeIndex / (sections.length - 1);
  fill.style.height = (progress * 100) + '%';
}

window.addEventListener('scroll', update);
update();
3.なぜこのUIが使いやすいのか
縦長ページでは、ユーザーは「今どこにいるのか」を見失いやすくなります。
Scroll Timeline UIを入れることで、
・現在地がわかる
・次の流れが予測できる
・離脱しにくくなる
というメリットがあります。
4.実装時のポイント
セクションはある程度の高さを持たせる
短すぎると切り替えが忙しくなります。
モバイルでは非表示も検討
横幅が狭いとUIが窮屈になります。
Scroll Progressとの使い分け
・Timeline → 今どこか
・Progress → あとどれくらい
5.実験:スクロールで進むTimeline UIを観察する
スクロールすると、タイムラインとセクションの状態が変化します。
ポイントをクリックすると、そのセクションへ移動できます。
6.まとめ
Scroll Timeline UIは、見た目の演出だけでなく、ページ構造をわかりやすくするUIです。
今回の実装では、
・アクティブ切り替え
・進捗ライン
・セクション強調
を組み合わせました。
Scroll ProgressやScroll Spyを理解した後に実装すると、かなり自然に作れるUIです。
Scroll Animationシリーズ
- #24 Scroll Reveal Animation
- #25 Scroll Progress
- #26 Scroll Snap Animation
- #27 Parallax Scroll Animation
- #28 Scroll Trigger Animation
- #29 Sticky Scroll Animation
- #30 Scroll Story UI
- #31 Scroll State Machine UI
- #32 Scroll Velocity Animation
- #33 Scroll Mouse Interaction UI
- #34 Scroll Spy UI
- #35 Scroll Sync UI
- #36 Scroll-Driven State UI
- #37 Scroll Time UI
- #38 Scroll Timeline UI
- #39 Scroll Direction UI
- #49 Inertia Scroll UI
- #50 Scroll Smoothing UI
コメントを残す